

Introduction: Creating Cohesion, Not Chaos
Mixing different tile styles, sizes, and patterns is a hallmark of high-end, bespoke design, allowing you to add depth, texture, and visual interest to a room. However, combining too many elements without a plan can quickly make a space feel chaotic and overwhelming. The secret to matching tiles like a professional designer lies in establishing a clear visual hierarchy and maintaining consistency in color, scale, and material tone.
Whether you’re tackling a kitchen backsplash, a shower surround, or an entire bathroom, follow these four rules to ensure your mixed tiles achieve cohesion and style.
1. Establish the “Hero” Tile
Every space that uses multiple tiles should have one star performer—the Hero Tile—and all other choices should play supporting roles.
- Choose One Focal Point: Select one area or one tile to be the boldest. This might be a highly patterned floor tile, a vibrant mosaic behind the stove, or a unique 3D accent wall in the shower.
- Balance with Simplicity: The remaining tiles in the room (the Field Tiles) must be simple, solid, and neutral. If your floor is busy, your walls should be plain. If your shower niche is a dazzling mosaic, the rest of the shower wall should be a simple, large-format tile.
2. Master the Color and Tone Palette
Color is the most effective tool for unifying diverse tile patterns and materials.
- The 2-to-3 Color Rule: Limit your entire design to a maximum of three core colors. If your Hero Tile has bold colors (e.g., deep blue, yellow, and white), choose your Field Tile in the most subtle or dominant neutral shade found in the pattern (e.g., a solid white or a soft gray).
- Match the Undertone: Pay close attention to underlying hues. Cool-toned tiles (grays with blue undertones) should be paired with other cool grays or crisp whites. Warm-toned tiles (beiges with yellow or brown undertones) should be paired with creams and warm wood finishes. Clashing undertones are the most common mistake that makes a mixed design look “off.”
3. Vary Size and Finish for Depth
Mixing different sizes and textures prevents the room from feeling flat, adding dimension without relying solely on color.
Scale and Proportion
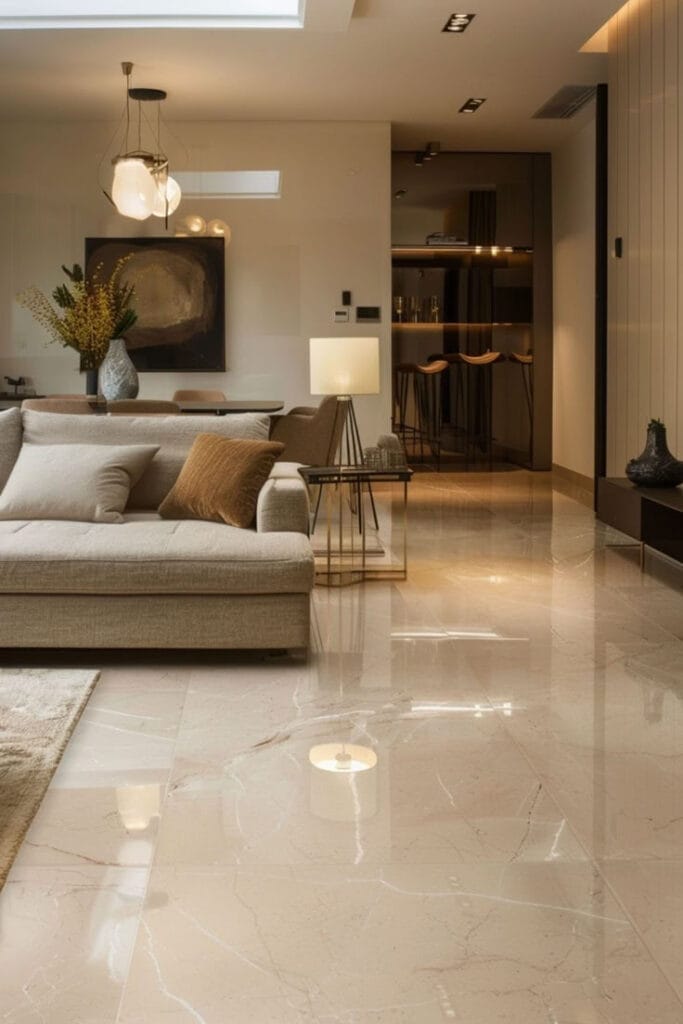
- Large for Openness: Use large-format tiles (e.g., 12×24 inches or larger) on the main floor and primary walls. The large size minimizes grout lines, which reduces visual clutter and makes the space feel larger and more serene.
- Small for Detail: Reserve small tiles and mosaics (e.g., penny rounds, hexagons, small subway tiles) for highly detailed areas like shower niches, backsplashes, or decorative borders.
Texture and Finish
- Mix Matte and Gloss: Create visual interest and enhance safety by contrasting finishes. A matte (non-slip) tile is ideal for the floor, while a glossy tile on the wall reflects light and makes the room appear brighter.
- Contrast Materials: Pair a smooth, polished marble-look tile on the wall with a rough, textured natural stone (like slate or travertine) on the floor for a high-end, tactile contrast.
4. Unify with Grout and Layout
The way your tiles are installed can be the final element that ties a mixed design together.
- The Unifying Grout: Use the same grout color for all tiles in the room. A matching grout blends with the tile for a seamless, continuous look. A contrasting grout (e.g., dark gray with white subway tile) highlights the pattern and adds a bold, graphic element.
- Intentional Layout: Use different installation patterns to define space. For example, lay a simple rectangular floor tile in a straight stacked pattern for a modern look, but install the wall tile in a more complex herringbone pattern to add detail.
By following these professional guidelines, you can confidently combine textures, colors, and patterns, transforming your tiled area from a functional necessity into a beautiful, personalized, and cohesive design feature.